TL;DR
- Most AI product photos fail for three reasons: a messy source image, a backdrop described in words, and too many changes at once.
- Run an AI photoshoot like a real shoot. Lock the product and the set, then change one camera or light decision at a time.
- One prompt formula does most of the work: an identity lock, a set lock, guardrails, and a shot recipe written the way a photographer would write it.
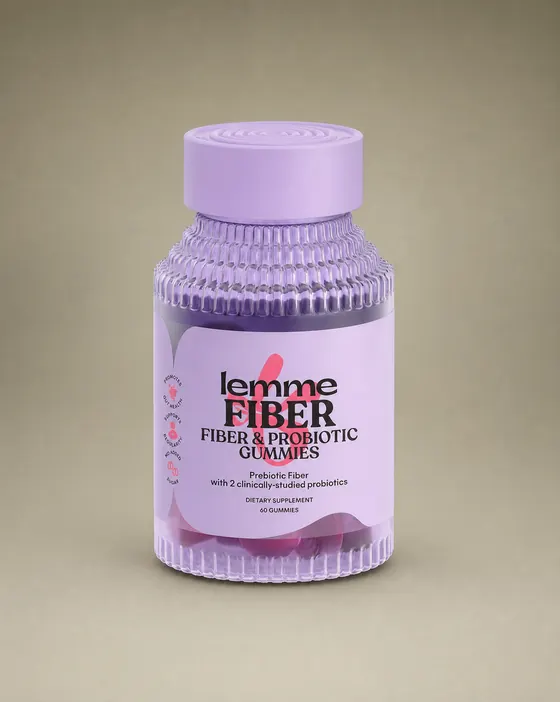
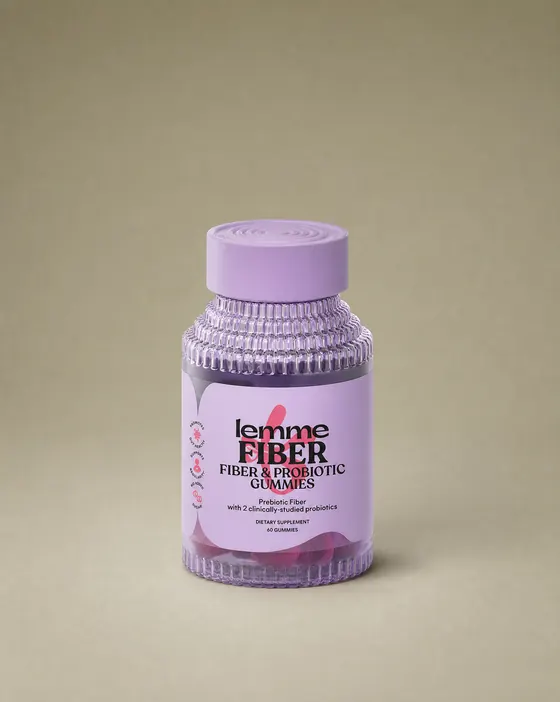
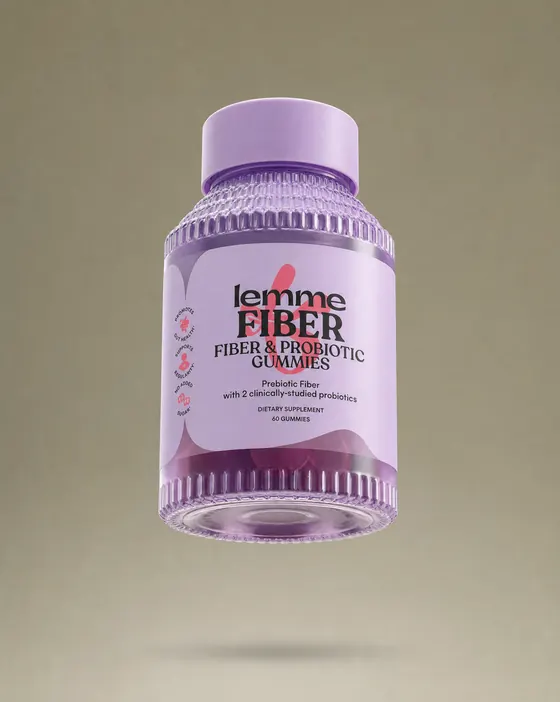
- We walk through a full four-shot set for Lemme Fiber Gummies. Every prompt is copy-paste.
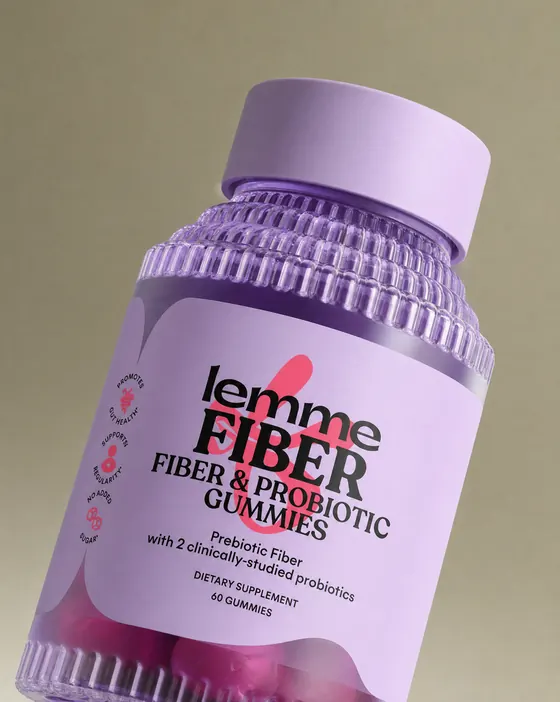
Every CPG brand needs product photos, and it needs more of them every year: PDP images, Amazon listings, Meta ads, retail sell-in decks. A studio shoot still works, but every new angle or background means another booking.
AI should fix this. In practice, most teams try it once and get a lid that's the wrong shape, a label that reads like alien code, and a background that changes from shot to shot. Then they go back to the studio.
Most of the time, the fix is in how you run the shoot. A photographer doesn't swap the product, the set, the lens and the lighting all at once. They build the set, lock it, and then move the camera. An AI photoshoot works best the same way.
The framework: lock the set, move the camera
Every image in an AI photoshoot comes from three things.
One clean packshot that defines exactly what the product looks like: silhouette, cap, colors, logo, every line of label text. The model preserves it, never redesigns it.
One backdrop, passed in as an image. Its color, gradient and texture carry across every shot, which is what makes four images read as one shoot.
Camera height, how much of the frame the product fills, lens and aperture, where the light comes from, whether the product sits or floats, and how tight the crop is.
Change one shot decision at a time. You'll learn what each one does, and you'll end up with a set that looks like it came from the same day in the same studio.
Field study: a four-shot set for Lemme Fiber Gummies
The template canvas shoots Lemme Fiber Gummies, a lilac jar, on the same backdrop in all four shots, so every difference you see comes from the camera and the light. Its ten pages follow the steps below.
Prep the product reference
Goal: give the model one unambiguous picture of the product.
What to do: upload the highest-quality packshot you have, with the full product visible. Avoid glare across the logo and any cropped edges. Studio photography beats iPhone photos, which beat 3D renders.
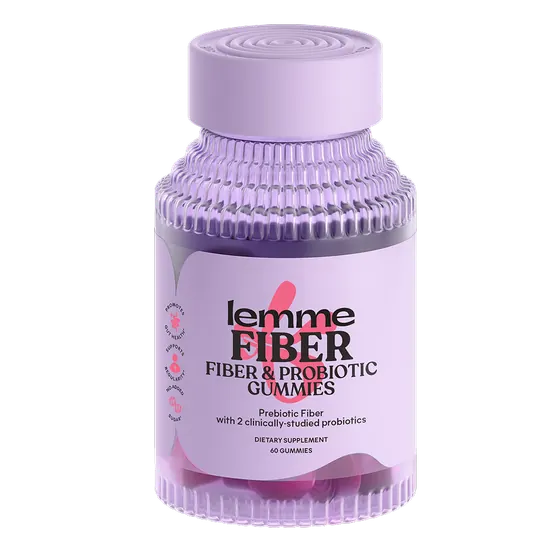
Input 1. The product.
Input 2. Backdrop 12, soft greige.
Write a one-screen brief
Goal: decide what stays constant and what's allowed to change, before you generate anything. Keep it to a few lines. Here's the template's:
| Product | Lemme Fiber Gummies |
| Task | A consistent studio image set |
| Format | Vertical 4:5 at 2K |
| Background | 12, soft greige |
| Constant | Packaging, color, label and backdrop |
| Variable | Angle, scale, light and crop |
| Model | Consistency Pro |
| Deliverables | Four photographs and three editable compositions |
Pick one backdrop and lock it
Goal: choose the set once, so the series holds together.
What to do: work from a small library of backdrops and pass the image itself in as a reference. The template has 23 in two groups. Soft and neutral backdrops are for when the packaging should lead. Color and contrast backdrops are for when you want a deliberate relationship with the pack. Tell the model to preserve the backdrop's color, falloff and texture, and compare two options at the same angle before you commit.
Soft and neutral


Color and contrast


10 of the 23 backdrops in the template.
In the template: backdrop 12, a soft greige with a lighter base. The quiet neutral separates the lilac jar from the background without competing with the label.
Run the four shot recipes
Goal: get four distinct shots from the same product and set.
What to do: select the product and the backdrop, paste the base prompt plus one shot recipe, check the input order, and generate one image at a time. Inspect each result before you run the next.
Clean Packshot
75% height · eye level · balanced soft light · faint contact shadow
Upright Studio
65% height · 85mm · f/8 · left key + right fill
Hovering Low
80% height · 65mm · 14° backward pitch · visibly suspended
Cropped Hero
30° tilt · low viewpoint · lower base cropped · brand readable
Notice how much more insistent the last two recipes are. Models drift back to eye level and small, polite tilts. So those prompts describe what the camera would see (the underside of the jar as a broad ellipse, the lid's top hidden), give the direction and the degrees (cap upper right, base lower left, 30 degrees), and spell out what the shot is not (“not a subtle 10 degree tilt”, “not eye level or from above”).
Compare the set at full size
Goal: catch what's wrong. Put all four shots side by side and check four things:
Refine one thing at a time
Goal: improve a shot without losing what already works. Make every revision say what to keep and what to change. Here's the example from the template:
Save the stronger result next to the first attempt, so the decision stays visible to your team.
Your first experiment
AI didn't take the photographer out of the product shoot. It moved the photographer's decisions into the prompt. Camera height, lens, light, shadow and crop still decide whether a shot works. You're writing them down instead of setting them up.
- Prep one clean product reference.
- Write a one-screen brief.
- Lock one backdrop.
- Run the shot recipes, one image at a time.
- Compare the set at full size.
- Refine one thing at a time.
- Frame and export.
Questions
Why does AI change my product's label or shape?
Usually because the source image is messy or low resolution, or because too much changes at once. Start from one clean packshot, lock the backdrop as an image, and change one camera or light decision per generation.
Should I describe the background in my prompt?
Pass the backdrop in as an image instead. “Soft beige gradient” means something different every generation; the image means the same thing every time.
Which model should I use for an AI product photoshoot?
The template uses Consistency Pro at 2K, because the label has to stay readable across the set.
Duplicate the template and swap in your packshot
Every prompt in the canvas is copy-paste. Want help setting it up across your whole line? leo@pikes.ai